Showing posts with label Publishing. Show all posts

Tuesday, 21 February 2017

Look book Peer Assessment

Look book Peer Assessment
Overall I agree with the feedback I have been given on my look book and my brand I feel has been represented well by it.
The main Improvements I was given was to remove a couple of spelling mistakes and make sure that the photos in the background are not pix elated, also to make some borders around some of the design photos and to change the white background of the text as it looks rushed and half done, finally to keep the font consistent.
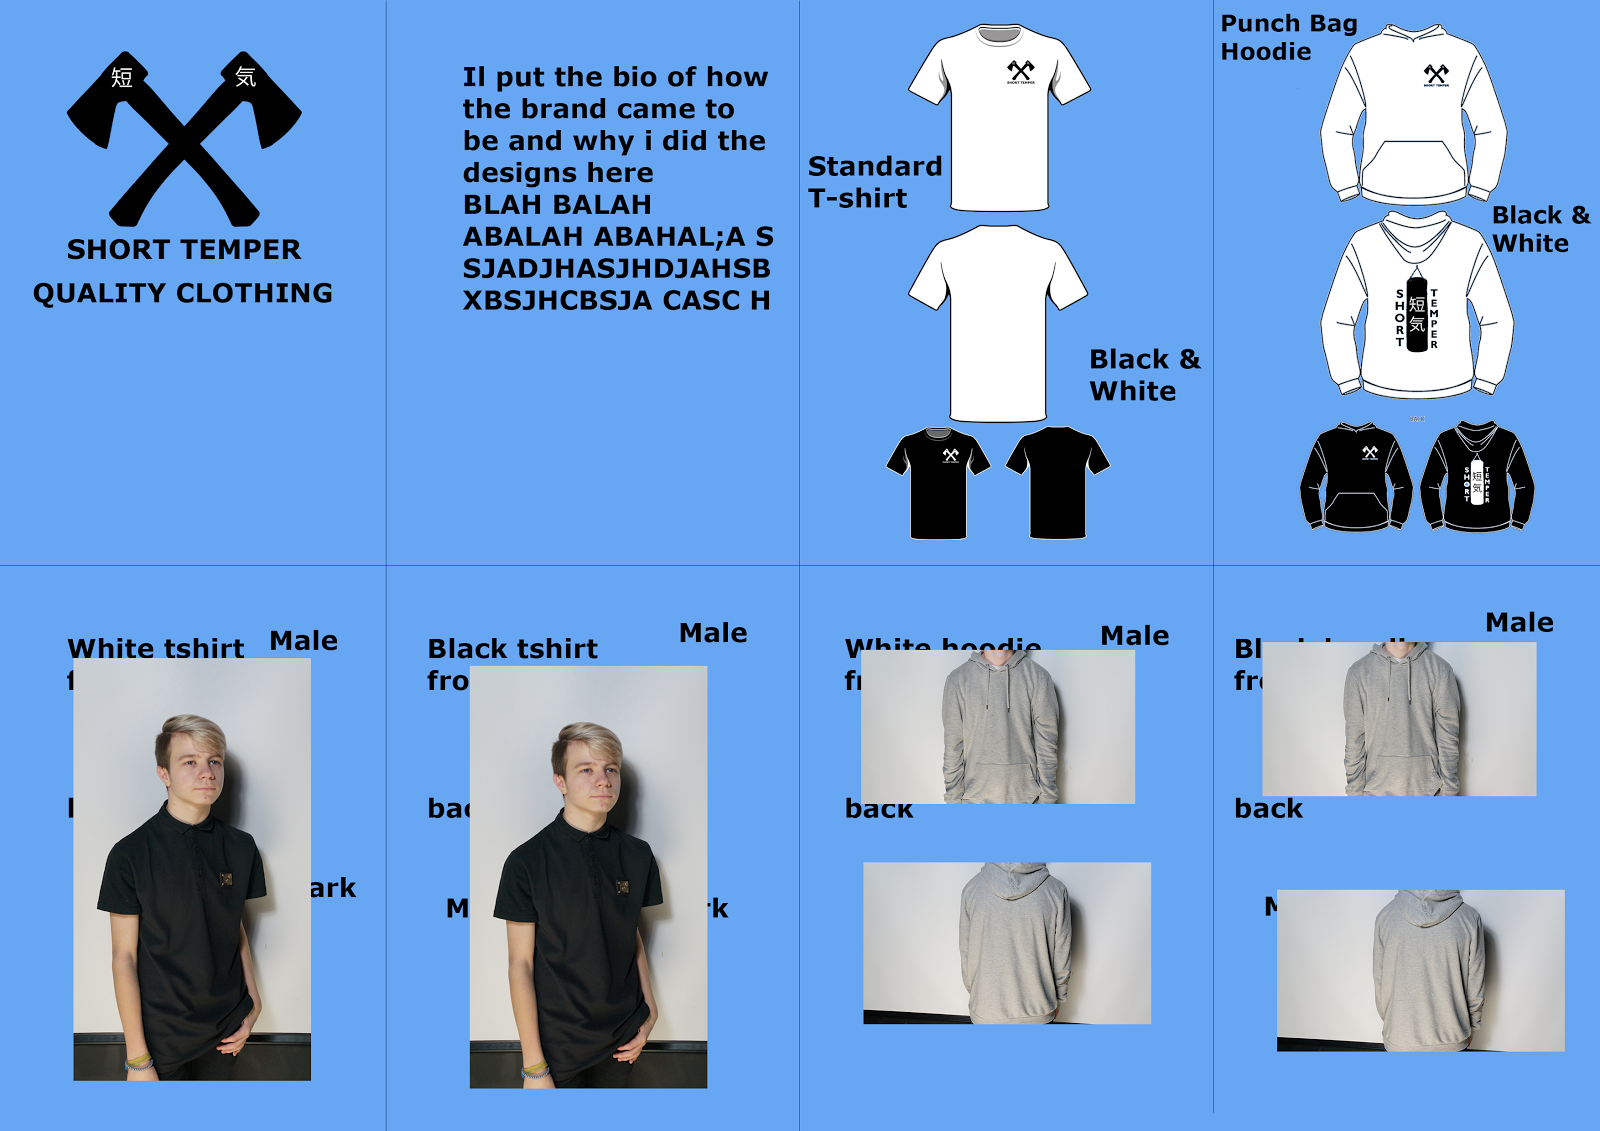
However they said that they like the look book overall and the designs were good and represent the brand well, they also said they like the background photos as they GO along with the inspiration for the brand and designs, also that it is a very male dominant brand which it is, so that is good.
Overall the most liked thing about it is the brand logo as it shows off the brand well and they liked the use of two different languages (English and Japanese). 


Tuesday, 7 February 2017

Look Book Final

Look Book Final
For my final design of my look book I decided to add some photos that I feel represent the brand in the background as my photo shoot was all done in a studio. 
I feel that my look book represents my brand and designs quite well as my brand is called Short Temper, I have an axe as my logo which is usually associated with aggression which is what happens when you have a short temper. The rustic look of my look book also helps give the message across as quite manly and aggressive as a brand, which is good as the brand is male dominant.

I chose this rocky background for my front cover as it shows a rustic but aggressive feel to match my logo which is simple but possesses similar values. In my peer assessment people said that they liked the logo as it was simple and left an impression, also that it uses two different languages (English and Japanese).
 
Here I put the brief description of what my brand represents and why I chose different logos and designs. also I have the concept art of my t shirts here and how they are supposed to look. I was told in the peer assessment that the text on the second page was hard to read as it had a busy background, they said I should put it in a text box, however not a white one like I had done as it looks rushed and unprofessional.

Here I have the concept art of the hoodies I chose to make the grey white on the concept as it help show the designs on the hoodie it's self. Then next to that I have the first photos from my photo shoot which I feel shows the designs off well in the studio, but finding a location to shoot would of been good but then you have problems with getting lighting equipment there and getting everything to sync up. I chose to have a darker warehouse as a background photo as the hoodie is fairly light in colour. Again in the peer assessment I should change the text box colour. The photos of the final design I actually made on photo shop to make it look like the hoodie is actually printed I blurred the design a little then I used the burn and light tools to make the design match the creases. Some of the feedback I was given was that the designs on the garments were real. 

Here I Have the photos of the black hoodie and the black shirt but for some reason the black hoodie has come out a little grey in the look book but the real design is black. I chose to have a lighter background as the photos are of black objects. I was rather proud of my photo shop work on the photos of the dark hoodie as I selected with the magic wand tool the hoodie and the not the design, neck or background and I adjusted the image by changing the light and exposure which made the light grey hoodie it was originally, to black. 

Here I have the design of the white t-shirt but I ended up rushing to get the final page done as I ran out of time that is why it doesn't look as good as the others and there is no background photo. I would of done the same thing with the t-shirt as I did with the hoodie but instead of turning it from grey to black I would of turned it from black to white.

Look Book Design

Look Book Design
For my look book i needed to put in concept art for my designs a brief description of why i chose my brand name and my designs, finally photos of my garments from a photoshoot.

This is a rough look of what my design would look like:

Thursday, 2 February 2017

Locations for Fashion photoshoot

Locations for Fashion photo shoot

As my brand is called Short temper which I related to aggression I thought that it would be good to have a photo shoot in an old warehouse, factory, gym or a studio.

I thought about the warehouse or factory as it would look like very industrial which is again associated to aggression. 


I thought about a gym as it is again industrial but also a lot of people take their anger out there on the waits.


Finally I thought about a studio as it is clean which is kind of against my brand but it creates good images and makes the process easier as I don't know of any warehouses or factory's or a gym that I can go in and take photos.


Design ideas for look book

Design ideas for look book

I thought that as my brand idea in called short temper it would be a good idea to make the cloths based around aggression associated objects like axes and swords. But I also thought that it would be a good idea include designs that are based around how I over come my short temper when I am angry.

So this is what I came up with:
This is the logo


I put short temper in Japanese in the corner of the axes as i thought it looked call and that axes are associated with Vikings and Japanese is samurai so the contrast is quite aggressive but i thought it worked.

Then this is the design to go on the back of the hoodie

I came up with the idea of the punch bag as when i am angry i take my anger out on my punch bag and it really helps so i thought it represented the idea quite well.

Fashion research idea generation

Fashion research idea generation

I struggle with coming up with ideas to do with this topic as I am not into fashion very much at all. however I do were a lot of darker colours when I go out but when I stay home I wear a lot of different colours like red and light blue ect. 

When it came to coming up with ideas of what my brand and cloth line could be we were told to think about different personality traits that we saw in ourselves and what other people saw in us. one of the things I put down was how I have a short temper. so I thought that it was a good brand name and idea and that I would base my designs on things that are a bit more aggressive.

I then thought about what kind of cloths I wear and like and I thought the best would be to make a hoodie and a t-shirt as I wear them the most especially in the winter months.

Tuesday, 29 November 2016

Board Game Design

Board Game Design
Here is the design of the board i would probably change the colour next time to more of a blue:


Here is the original design of the planes but i had to change them as we didn't have the resources to make them 3D: 

Here is the final design of the planes however next time i would make them a classic army green:


Here is the design of the logo i would not change a thing on it:


Thursday, 24 November 2016

Airplane Arsenal Rationale

Air-plane Arsenal Rationale
The objectives i set my self were:

  • Create an impressive board game-I thought that this would be a fairly easy thing to do how ever with no budget it makes it hard to make something out of nothing and my design and idea cant be made justice with just paper and glue.
  • Provide a fresh twist on an existing game-I decided to base my game off of the well known game of battleships, however i gave it a twist by changing the original ships with planes and adding more points to bomb as the said planes have wings.
  • Appeal to a wide audience-I wanted to make the game to appeal to a wide audience that is why there is a lot of grey and green as i feel they are neutral colours between genders.
  • Make a complex board game-I want to make the game challenging but not so hard that people get fed up and bored of playing as it may insult there intelligence, but the whole idea of my game is that there is a lot of guessing which everyone can do comfortably and if they miss then the miss.
The conditions of the brief:
  • Must have a clear product identity
  • Must have a clear target audience-My target audience is more or less everyone and that no one is restricted with it.
  • Must not exceed A3-My board does not exceed A3 as it is folded up and is an odd shape anyway.
  • Must not be harmful or hazardous-Apart form a few small piece it is safe.
  • Must include traditional elements-It does have Little counters that represent the misses and the hits, also there are little planes that the player places before the game starts.
My Game Design:
I decided to make my games design very simple and easy to see. i made the board with different shades of grey so they can see the grid easily. i then made the planes a darker grey but now thinking about it i would of made them the classic army green. then for the miss and hit pins i would make the miss a sky blue as planes are in the sky and i would make the hit red just like the classic game of battleships.
the planes on both sides consist of a 5 square(C-5M), 4 square(J11), two 3 square(Spitfire, stealth bomber) and a 2 square(AH6) aircraft that can be placed as the player wishes. they also have to remember the wings as all of the planes have them.

I also made a logo for may game it is based on the spitfire as that is one of the most well known planes:


Peer Assessment:
I looked at the game Race to Space which is based off of snakes and ladders. i thought that it was a good game and well executed. it was easy to play and fairly fun however the person that made it did win when i played them making it seem as if they made it so that they could win. the aesthetic of it being in space was quite cool as you could see the details of the background like the stars  also the counters were quite good as they were themed with space.
The game does fit the criteria. it doesn't exceed international paper size A3, there are traditional element i.e. playing pieces. there is a clear product identity as the name well represents the game.there target audience is fairly clear that it is inclusive and that everyone can play it really. there are no harmful aspects of the game apart from the fact that young children may eat the counters.

Overall evaluation:
My design process was to make something similar to Battleships were the board was up right so that the other player could not see were you planes are. as i said i based it on Battleships the thing i did differently is that i made it with planes instead and you have got to take out the planes wings to take it out. This makes the game harder as they have to bomb not just the a line but more of a cross.
I do think that my product would be a success having i had made the board with pins that would act as the bombs that either hit or miss the targets. but as it is the game would not be a success but has full potential to do so. I think that next time i would change the colour scheme and make the board look like the sky and the planes more of a classic army green. i would also of made the planes 3D and with more detail had i of had the materials to do so. If i had more time to respond to the brief i would of made the pins that would be used to show the hits and misses.

Wednesday, 9 November 2016

Board Game Production

Board Game Production
After looking at the brief i am confident that i can meet the requirements and parameters, as most of them are plain common sense and meet what is usually classed as a board game: Must not exceed international paper size A3, which means i cant make it too big.   games must not be harmful or hazardous in any way, for obvious reasons that no one gets hurt.
I intend to work on my own as i feel that it is easier than having to rely on other people as they might not do there job properly and it complicates things.

I am going to research about what my target audience could be and what games are out at the moment and wether or not there popular. i will look online to get some inspiration and ideas.
I do have an idea of what i might do and it is based on the game battle ships but in stead of ships it has airplanes in stead and it could have different sized planes.
The questions i might ask are, is there any other alternatives to battle ships already on the market? what audience will i aim at as that could change the out come of the logo design and game all round.

Wednesday, 2 November 2016

Logo Designing

Logo Designing 
this is what i made today

these are logos i made that are of my initials.

Wednesday, 19 October 2016

Photoshop Self Evaluation

Photoshop Self Evaluation

I feel that i have learnt a lot over the last six weeks to do with Photoshop. Before the six weeks i had only used Photoshop once and i didn't get to use it or long so i really knew nothing to do with it, i also had no idea about how complicated posters can get, as they have different sizes compared to the normal A4 and A3. also i didn't realise that there was so much thought in to poster designing. 
no though i feel that i have become quite advanced with Photoshop and have a good understanding of posters and the process of making them.

Final Design and Evaluation

Final Design and Evaluation


Over all i am very happy with how my poster turned out , However i will say that some aspects of it could be improved. for example the title could be improved as i could not find the exact font that was used and also i could not fit the whole of it on the poster so i ended up squishing the end.
Also it would of been good if the text at the bottom was customized a bit more and not just taken from the original poster this is based off of. 

My Poster Design Process

My Poster Design Process

Here is my final poster for this part of the course:

I first set out to find a Photo that i could base the rest of the poster on so i found one of the martian posters.

I then looked for a photo of Leonardo Dicaprio in the revenant that would fit the poster so i found this.which i thought was good as it was not to complicated and leos face looked intense but a low level which worked as in the original poster matt damons was also serious and intense.

I then selected matt damon form the photo and used the function fill to make it so he was not in the suit, i still needed to blur and patch some of the photo but that was not that hard. i then cut out Leos face from the photo above. i also cut out his hair as i thought if he was in a space suit he would where one of the ski head sleeves that make it look as if his hair is tucked away.
I then blurred the edges of the photo in with the main photo and then changed the hue to make it seem as if the background was a snowy blue rather than a dessert redy orange.
I then removed the text at the end of where it says the martian again using the select tool and fill function, i also used this to remove where it says Matt Damon and Bring Him Home. and replaced them with Leonardo Dicaprio.

I then added "NANT" to the end of the title to make it the mix of the martian and the revenant, then i put the words God Damn Bears where Bring Him Home was. i thought that God Damn Bears was good as it was relevant to the film as leo gets mulled by a bear and it fit the idea of there only being three words.
I then added the mic that matt damon wheres to leo in side his helmet and exported the whole thing to create the final poster.


Friday, 14 October 2016

My progress in publishing

My progress in publishing

What was my knowledge of the software and process before I started?
I had very little knowledge in Photoshop as a whole and had nearly no knowledge on the process of making film posters.

What have I learn?
I have learnt a lot since I started from how they choose what text they put in a poster to how they pick the final size of one. I am very happy with how I have progressed in Photoshop considering I had nearly zero knowledge in it.

What will I do differently next time?
next time I will make a poster that didn't just have a few elements that I created in it but it will have nearly all the elements from me creating them.

I asked John why he liked my poster and he said "because it looks as if it was the original and that the film was real".

Sunday, 9 October 2016

object, path, stroke and fill in illustrator

Object, Path, Stroke and Fill in Illustrator

Object:
An object in illustrator is an element that can be manipulated to make what you want for example if you drew a square using the square tool than that square is the object.


Path:
A path is the black line that appears when you draw a line in Adobe Illustrator. A path is made up of a series of points called “anchor points” and line segments between these pointsImage result for what is a path in illustrator


Stroke:
A stroke in illustrator is what we use for drawing as it is the line that is put down when we click and it can be adjusted for example you can adjust the width and colour of said stroke.
Image result for stroke in illustrator


Fill:
Fill is a command that can be used to put a area within an object to a certain colour. for example if I had a square and wanted to make it green i could use the fill command to fill that area with green.
Image result for what is a fill in illustrator 

Wednesday, 5 October 2016

poster designing

poster designing

My Poster:
From the posters that i found i got the idea of what i could do for my own poster i was asked to make my poster on Creed and i took different aspects from the real posters i found for example i liked the idea of a big title at the top and the names of the main actors.
Fonts-akzidenz- grotesk pro
Colour-black grey white red and blue
Poster size-quad
Style-simplistic silhouette
Economics
Target audience-teenage and adult males
Artistic or commercial-70% artistic 30% commercial
Constituent elements-american flag background, silhouette, title, actors names


For my next design i will make a more graphically orientated poster. I will also add production information like the name of the director, and the logos of the companies that made the film.

Uses of elements/tools in photoshop

Uses of elements/tools in photoshop
Crop Tool - the crop tool can be used to make a photo smaller and cut edges of the photo out.


Blur Tool - the blur tool is used to blend elements of a photo together or hide something that you don't want. For  example if you cut someone out of a photo and say there hair was still there you could blur it in and you would not see it.
Paint Tool - the paint tool is used to add drawings to the photo to add new elements. For example if i wanted to add a funny cartoon character to look like it is interacting with the photo then i could draw it straight onto the photo and join up the layers.

How Photoshop can effectively used for image manipulation?

How Photoshop can effectively used for image manipulation?
Adjust photos and make them better or fix them. For example if you had a photo that the colour was off or you wanted to make it black and white then you would adjust the saturation.
Can change photos and join them up. For example if i had two images that needed to be one then i could join the two layers by right clicking the layers and pressing join.
Correct things such as exposure or white balance. For example if you had an overexposed photo that was very white you could adjust the exposure and the white balance to make it seem a more natural colour.
Manipulate pixels - remove unwanted elements of a photo. For example if a kid photobombed  shot you could remove it and make it seem like they weren't there.